How to create a print ready photoflyer file for production
photoflyer templatesOur photoflyer templates are available in Adobe InDesign and Adobe Illustrator format, to ensure best print quality.
Please have a good look at the helpful tips. You can send your final print ready design file (.PDF) to orders@photoflyer.com
Guides explained
Safe zone
Make sure any important aspects of your design such as text and logos are inside of the safe area, otherwise they may be cut off.

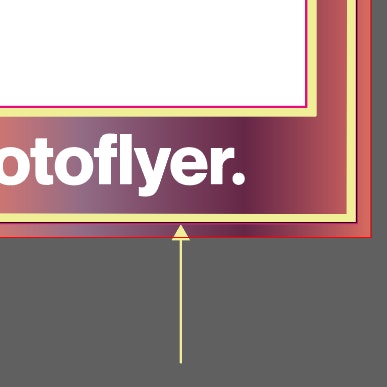
Bleed
Make sure that your background extends to fill the bleed to avoid your frames having white edges when trimmed.

Trim/Crop
This is where we aim to cut your frames.
Don’t crop or mask
Fill the entire cut-out with your background to avoid your frames having white edges when trimmed.

Don’t crop or mask
Fill the entire cut-out with your background to avoid your frames having white edges when trimmed.

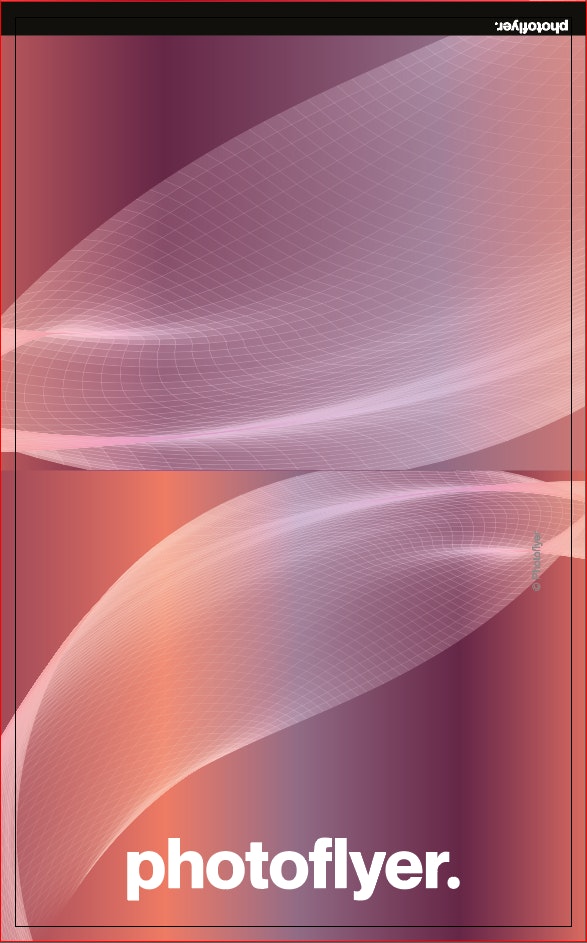
Add design to the front and back
Remember to add your design to both sides of the template.
Creating a design using Adobe Illustrator
[copy here]

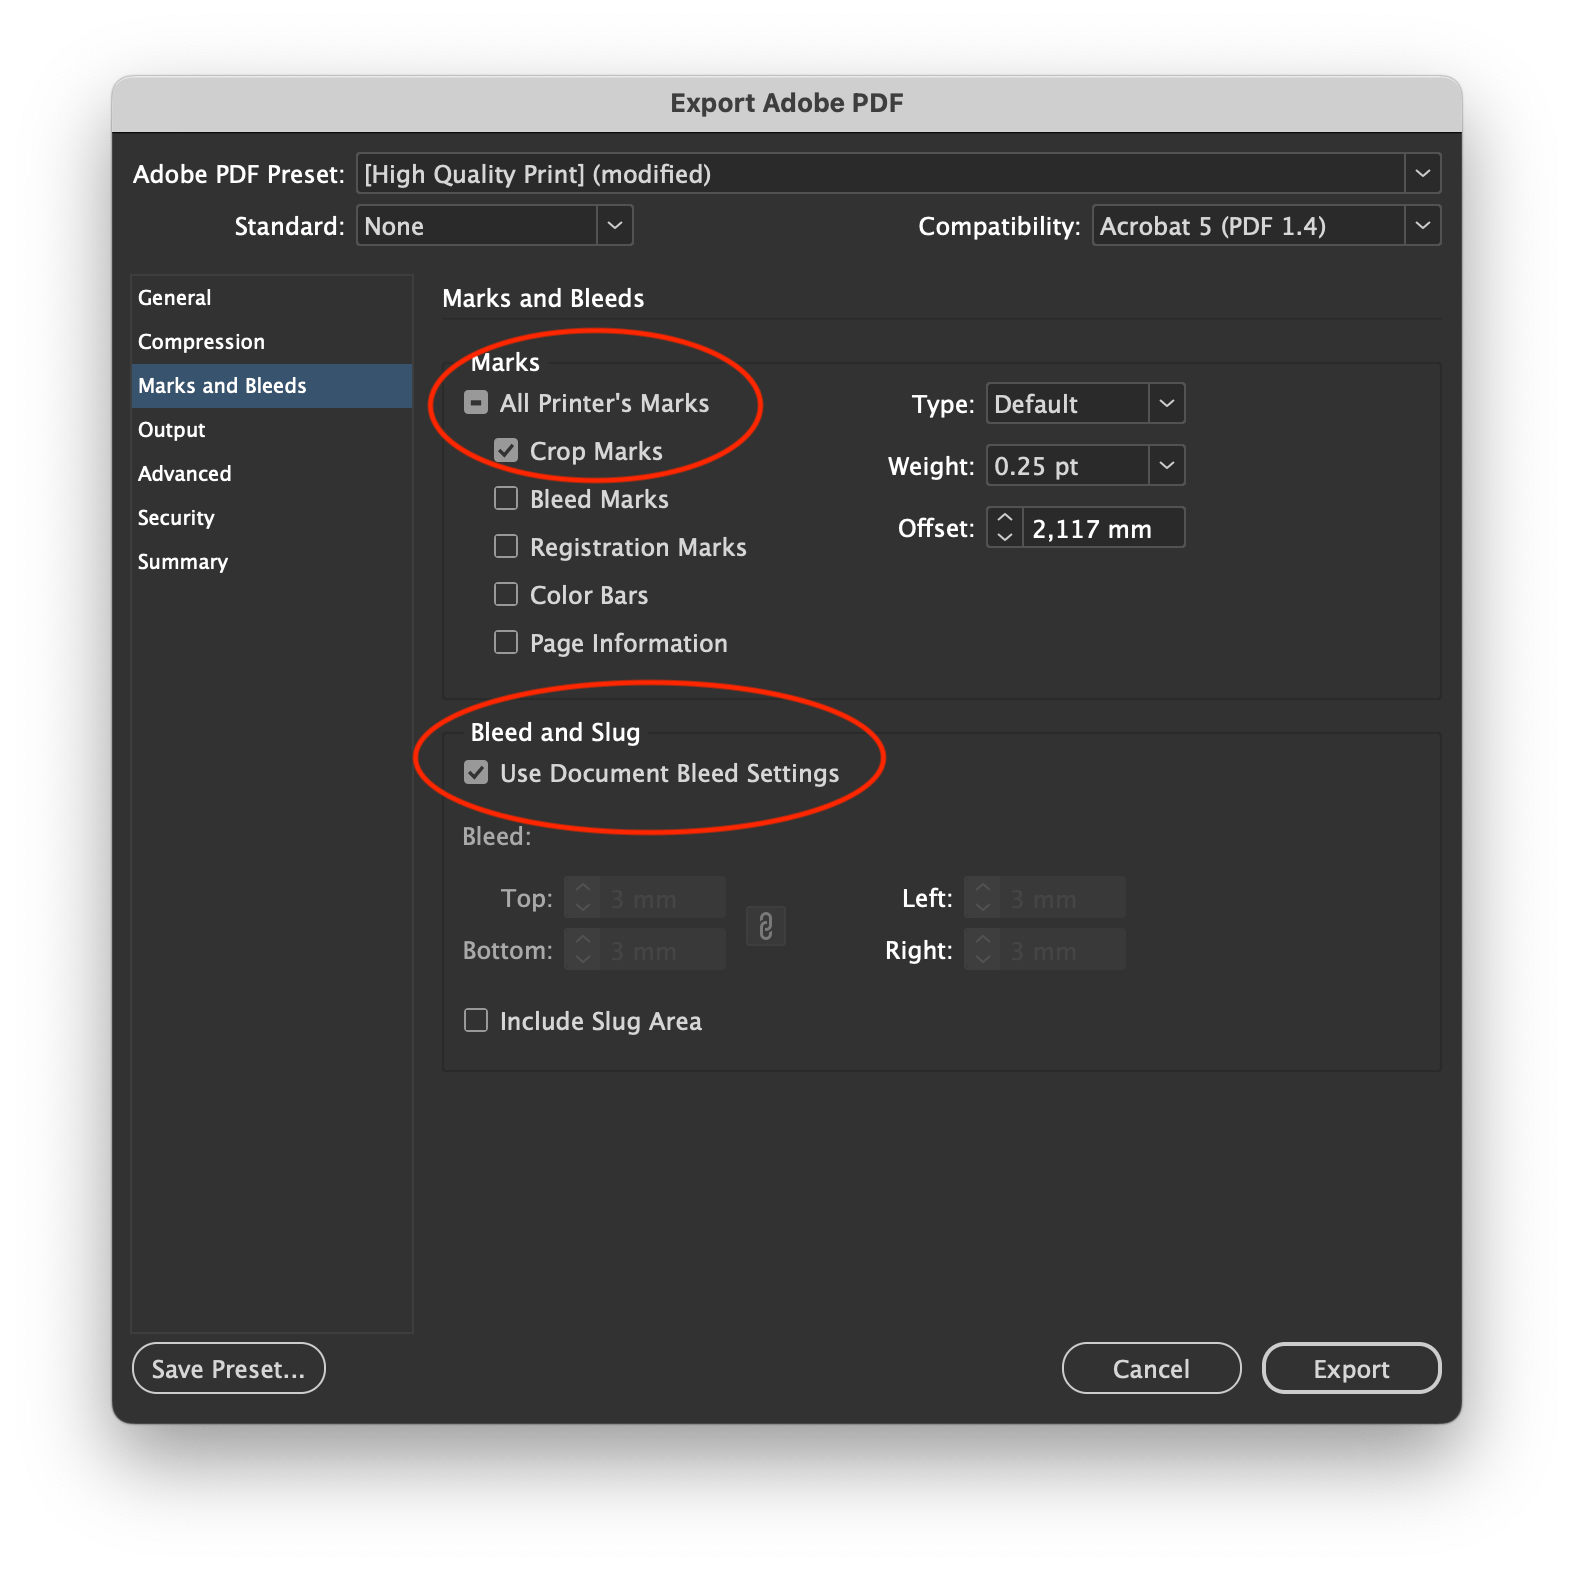
Exporting your file
Exporting your file
After you've successfully saved your photoflyer design as a print ready PDF, you can send it to orders@photoflyer.com
Creating a design using Adobe InDesign
[copy here]

Exporting your file
If you have followed the guides and think your photoflyer is ready to be exported as a print ready PDF, then
Follow these steps:
- Disable the guide layers (if you miss this step, don't worry, these are automatically disabled once you export your file)
- Outline text and embed images in your document to ensure they are printed correctly.
- Minimum 300dpi / CMYK
- Export a high quality print .PDF by following the steps below
First start with
- File > Export...
- As the format, choose Adobe PDF (Print)
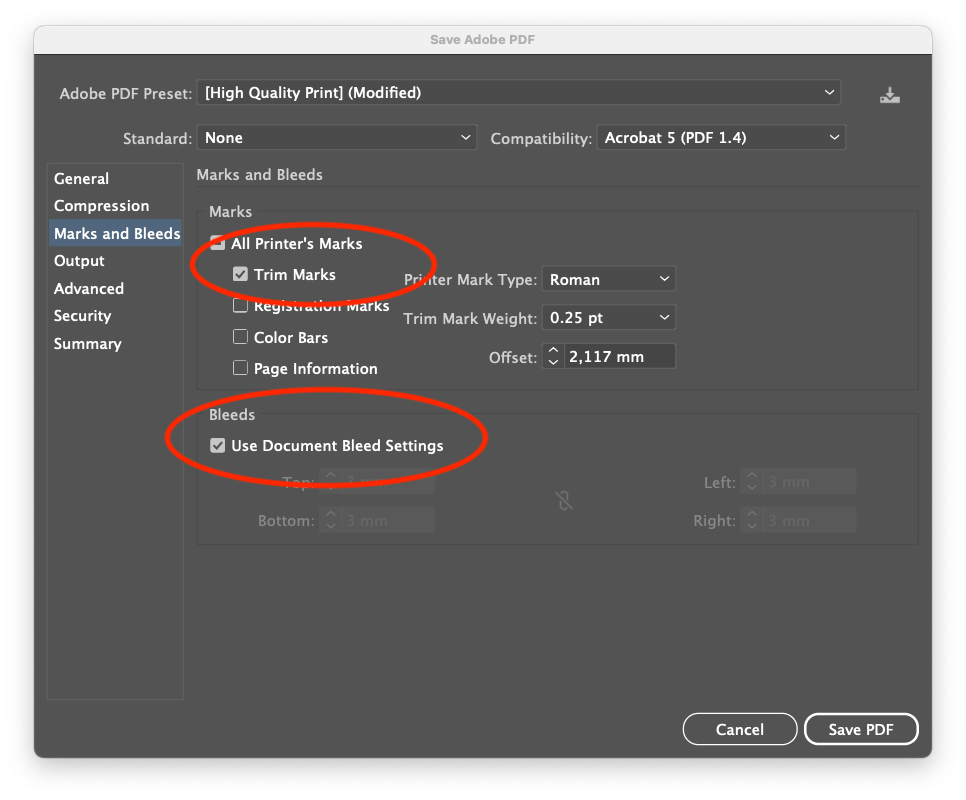
When you save a file as PDF in Adobe InDesign; make sure you select [High Quality Print]
Exporting your file
- In the 'Marks and Bleed' section, check the ''Crop Marks'' as well as ''Use Document Bleed Settings''
- Click on 'Export' and you're done.
- After you've successfully saved your photoflyer design as a print ready PDF, you can send it to orders@photoflyer.com

11 Tips for creating an effective photoflyer design
Designing a great photoflyer can be a determining factor in the success of your photoflyer campaign. Remember these tips when designing your next photoflyer.

Compare our photoflyer sizes and dimensions
Photoflyer offers different sizes photoflyers for instax and Polaroid pictures. Two different instant photography solutions, with different photoflyer sizes.