Photoflyer for instax
Instructions
Easily get started with your photoflyers. Read and watch these instructions carefully to get the best results.
watch video
How to fold a photoflyer for instax instant photos.
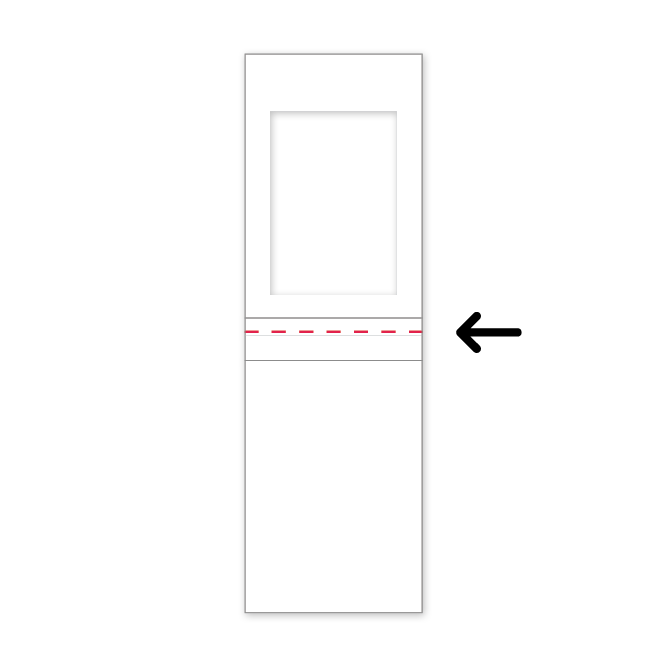
1.
Looking at the back of the photoflyer, fold the photoflyer in the middle at the folding line.

2.
Peel off the bottom sticker starting from below the third line as shown above.
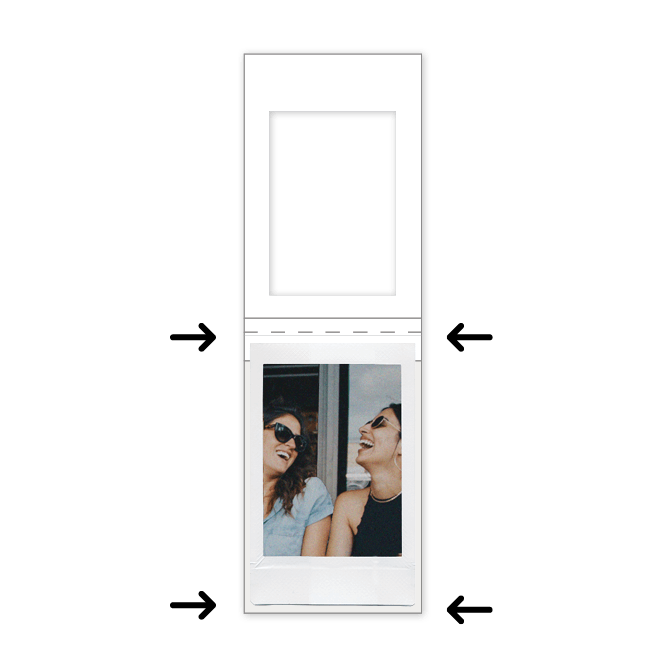
3.
Place the instant photo on the photoflyer, leaving an even gap around the photo.

4.
Peel off the top sticker starting from the bottom left corner, above the first line.
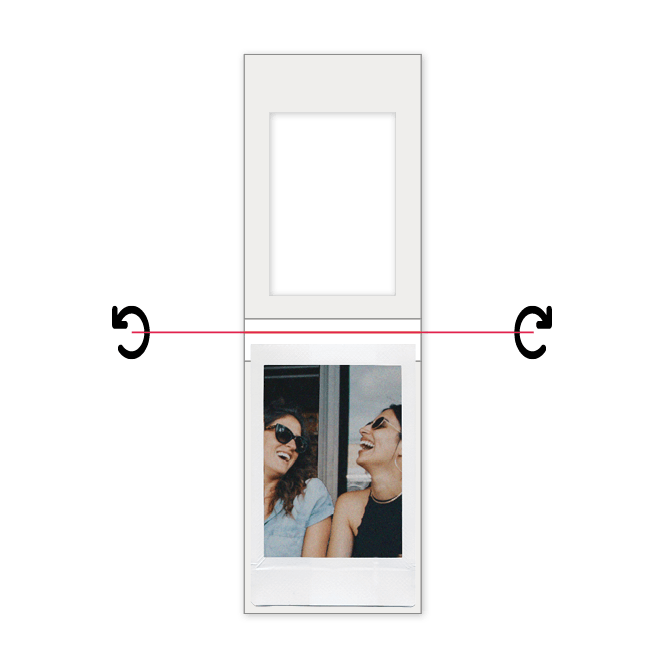
5.
Fold the photoflyer in half to seal, leaving the middle part of the sticker to use as a guide.

6.
Your photoflyer is ready to hand out.
Let us know if you have any questions
Feel free to reach out if anything is unclear to you